

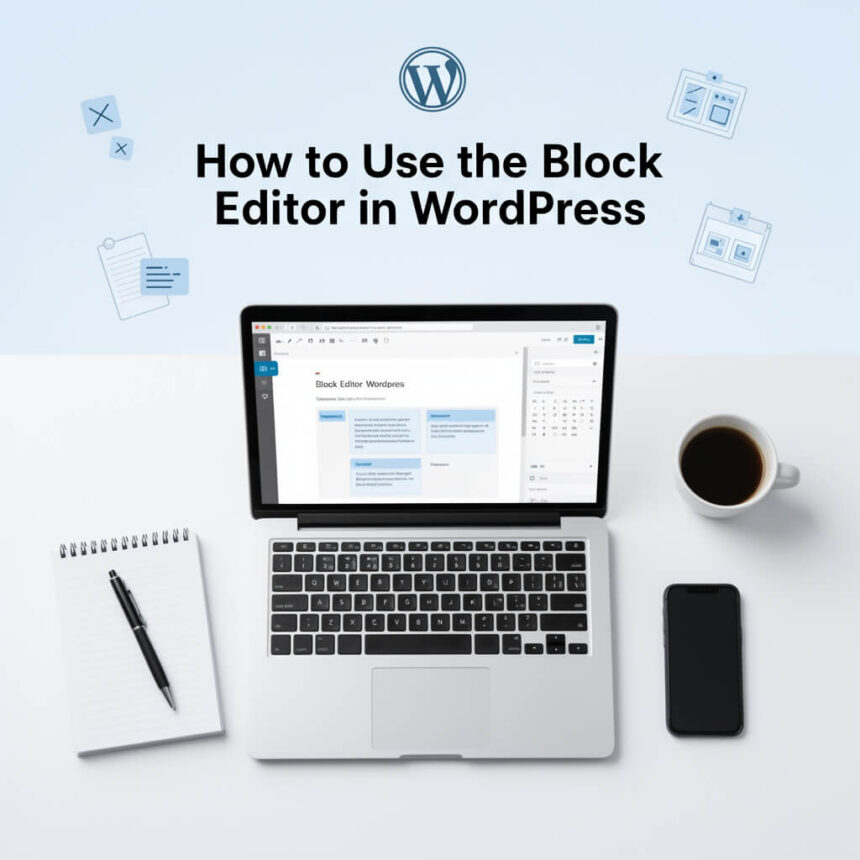
If you have recently started a WordPress website, you might feel a bit overwhelmed when you first open the page editor. For years, WordPress used a system that looked like a simple word processor. Today, we use the Block Editor, also known as Gutenberg.
This editor is a powerful tool that allows you to build beautiful pages without needing to know how to code. Think of it like playing with digital LEGO bricks. Every piece of content, whether it is a paragraph, an image, or a button, is its own “block.”
Getting Started with Blocks
When you create a new post, you will see a large white area that says Type / to choose a block. This is your workspace.
To add your first block, you can simply start typing to create a paragraph. If you want to add something else, you can click the + (plus) icon. This icon is usually located in the top left corner of the screen or on the right side of an empty block.
Common Blocks You Will Use
- Paragraph: The default block for all your text.
- Heading: Used to create titles and subtitles (H2, H3, H4) to organize your content.
- Image: Allows you to upload photos or select them from your media library.
- List: Perfect for creating bullet points or numbered lists.
- Button: Great for sending readers to another page or a contact form.
Moving and Organizing Blocks
One of the best things about the Block Editor is how easy it is to move things around. You do not have to cut and paste text if you want to change the order of your story.
When you click on a block, a small toolbar appears above it. You will see six dots that look like a handle. You can click and drag this handle to move the block up or down. You can also use the up and down arrows on the toolbar to move the block one space at a time.
Customizing Your Content
Every block has its own set of settings. When you select a block, look at the sidebar on the right side of your screen.
Under the Block tab in the sidebar, you can change specific details. For example, if you are using a Paragraph block, you can change the text size or the background color. If you are using an Image block, you can add “alt text” to describe the image for search engines and visually impaired readers.
Using the List View
As your blog post gets longer, it can be hard to keep track of everything. This is where the List View comes in handy.
In the top toolbar, there is an icon that looks like three horizontal lines stacked on top of each other. Clicking this opens a list of every block in your post. It acts like a map, allowing you to jump straight to a specific section or see how your columns and groups are organized.
Saving and Previewing Your Work
While WordPress saves your work automatically, it is a good habit to click Save Draft in the top right corner occasionally.
Before you hit the publish button, click Preview. This allows you to see exactly how the post will look to your visitors on a desktop computer, a tablet, or a smartphone. Once you are happy with how everything looks, click Publish to share your content with the world.
The Block Editor might seem different at first, but once you understand that everything is just a block, you will find it much faster and more flexible than the old way of blogging.

✅