

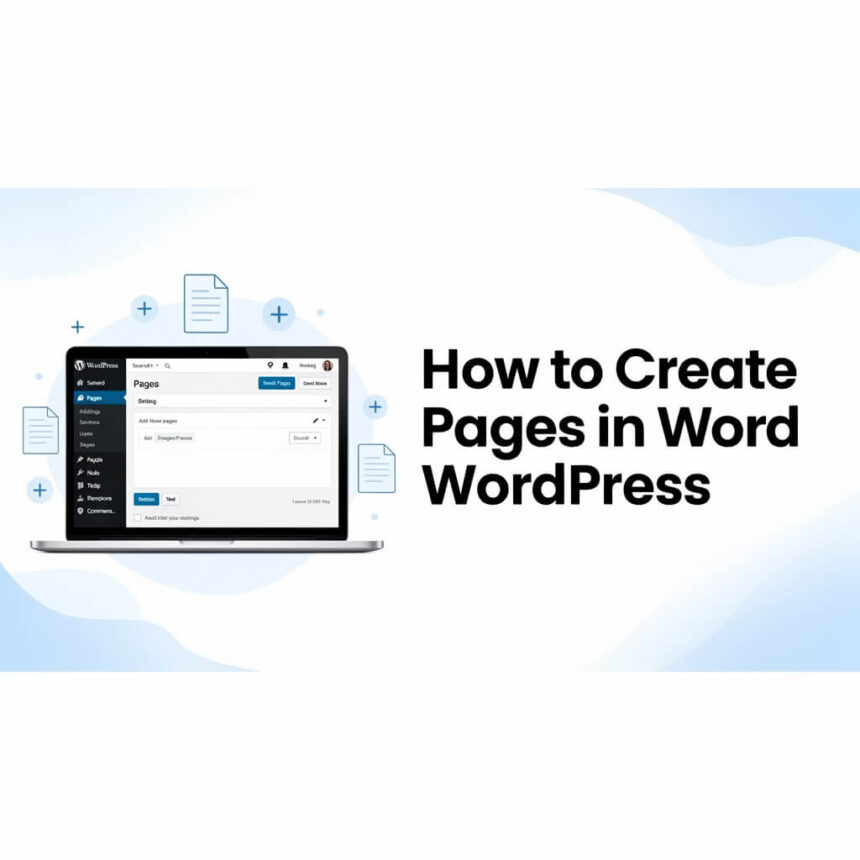
Starting a website can feel like a big project, but WordPress makes the process very straightforward. One of the first things you need to do is build the structure of your site. This is done by creating pages.
While posts are used for daily or weekly updates like news and articles, pages are meant for “static” content. These are the parts of your site that stay the same for a long time, such as your “About Us” or “Contact” sections.
Here is a simple, step-by-step guide to help you create your first page.
Step 1: Log In to Your Dashboard
The first step is to access your WordPress admin area. Usually, you can find this by adding /wp-admin to the end of your website address. Once you enter your username and password, you will see the main dashboard.
Step 2: Find the Pages Menu
Look at the left side of your screen. You will see a vertical menu with many options. Look for the one labeled Pages.
When you hover your mouse over it, two options will appear:
- All Pages: This shows you every page you have already created.
- Add New: This is the button you need to click to start a fresh project.
Step 3: Add a Title
Once you click Add New, a blank editor will open. At the top, you will see a spot that says “Add title.”
This is where you name your page. If you are making a page to tell people who you are, you might type “About Me” or “Our Story.” The title is important because WordPress will use it to create the link (URL) for that page.
Step 4: Write Your Content
Below the title, there is a large space where you can start typing. WordPress uses something called the “Block Editor.”
Think of blocks as containers for different types of content.
- Text: Just start typing to create a paragraph block.
- Images: Click the + icon to add an image block and upload a photo.
- Headings: Use heading blocks to break your text into smaller sections. This makes it much easier for people to read.
Step 5: Adjust Your Settings
On the right side of the screen, you will see a settings panel. Make sure the Page tab is selected. Here, you can do a few helpful things:
- Featured Image: You can set a main image that represents the page.
- Discussion: You can choose if you want people to leave comments on this page. Usually, for pages like “Contact,” people turn comments off.
Step 6: Preview and Publish
Before you show your page to the world, it is a good idea to see how it looks. Click the Preview button at the top right of the screen. This will show you exactly what a visitor will see.
If you are happy with everything, click the blue Publish button. WordPress will ask you one more time if you are ready. Click Publish again, and your page is now live on the internet!
Organizing Your New Pages
After you create a few pages, you will want people to find them. The best way to do this is by adding them to your Navigation Menu.
To do this, go to Appearance and then Menus in your dashboard. You can select your new pages and add them to your primary menu so they show up at the top of your website.
Creating pages is a basic skill, but it is the foundation of a great website. Once you master this, you can start exploring more advanced designs and layouts.

✅