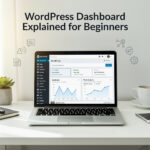
When you first log into your WordPress dashboard, it is tempting to start picking out themes and writing posts immediately. However, there are several foundational settings that you should adjust before you do anything else. Taking five minutes to configure these properly will save you from technical headaches, improve your site security, and help your content rank better in search results.
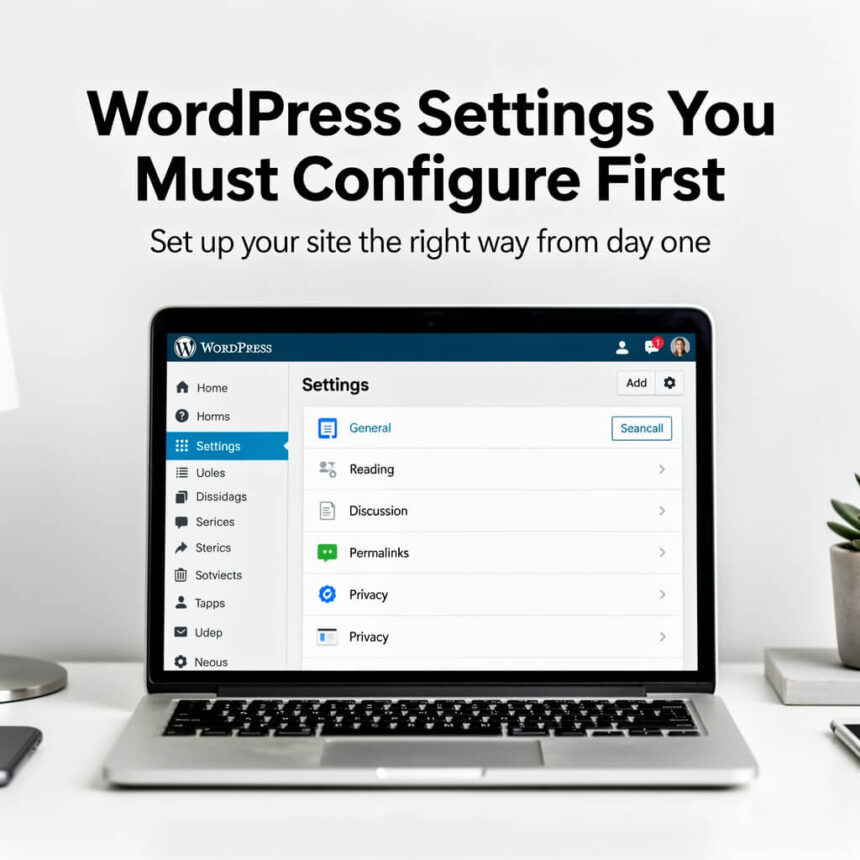
Here is a guide to the essential WordPress settings you must configure first.
1. Set Your Site Identity
The first thing you should do is tell the world what your site is about. By default, WordPress often sets your tagline to “Just another WordPress site,” which looks unprofessional if left unchanged.
- How to do it: Go to Settings > General.
- Site Title: Enter your brand name or business name.
- Tagline: Write a short, catchy sentence that explains what your site offers.
- Site Address: Ensure your URL is correct (usually adding or removing “www” depending on your preference).
2. Optimize Your Permalinks
Permalinks are the permanent URLs to your individual pages and blog posts. The default WordPress setting often uses a structure like yoursite.com/?p=123. This is bad for users because it doesn’t tell them what the page is about, and it is bad for search engines.
- How to do it: Navigate to Settings > Permalinks.
- The Best Choice: Select Post name. This changes your links to a clean format like
yoursite.com/sample-post/. It is easy to read, memorable, and much better for SEO.
3. Check Search Engine Visibility
This is a small checkbox that can have a massive impact. If you are still building your site and don’t want it to show up on Google yet, you might have checked this during installation. However, many people forget to uncheck it when they go live.
- How to do it: Go to Settings > Reading.
- The Setting: Look for Search Engine Visibility. Ensure the box that says “Discourage search engines from indexing this site” is unchecked unless you specifically want to hide your site.
4. Set Your Timezone and Date Format
Correct time settings are important for scheduling posts. If your timezone is wrong, a post you schedule for 8:00 AM might go live in the middle of the night.
- How to do it: Go to Settings > General.
- Timezone: Choose a city in your timezone or the UTC offset.
- Date and Time Format: Choose how you want dates to appear on your posts. This is mostly a matter of personal style, but consistency is key.
5. Configure Discussion and Comment Settings
Comments are great for engagement, but they are also a magnet for spam. You need to decide how much control you want over who can post on your site.
- How to do it: Go to Settings > Discussion.
- Key Adjustments:
- Check the box: Comment author must fill out name and email.
- Check the box: Comment must be manually approved. This prevents spam bots from cluttering your site with low-quality links.
- Uncheck: Allow link notifications from other blogs (pingbacks and trackbacks). These are rarely useful today and are often used by spammers.
6. Adjust Media Sizes
When you upload an image, WordPress automatically creates several copies of it in different sizes (Thumbnail, Medium, Large). Sometimes the default sizes don’t match your theme’s layout, which can make your site look messy or slow it down.
- How to do it: Go to Settings > Media.
- The Setting: Check your theme’s documentation to see the ideal image widths. If you don’t want WordPress to create extra copies of images you’ll never use, you can even set these values to zero.
7. Organize Your Homepage
By default, WordPress shows your latest blog posts on the homepage. If you want a more professional “business” look, you might want a custom welcome page instead.
- How to do it: Go to Settings > Reading.
- Your Homepage Displays: Choose “A static page” if you have designed a specific home page. Then, select which page should act as your “Posts page” (your blog).