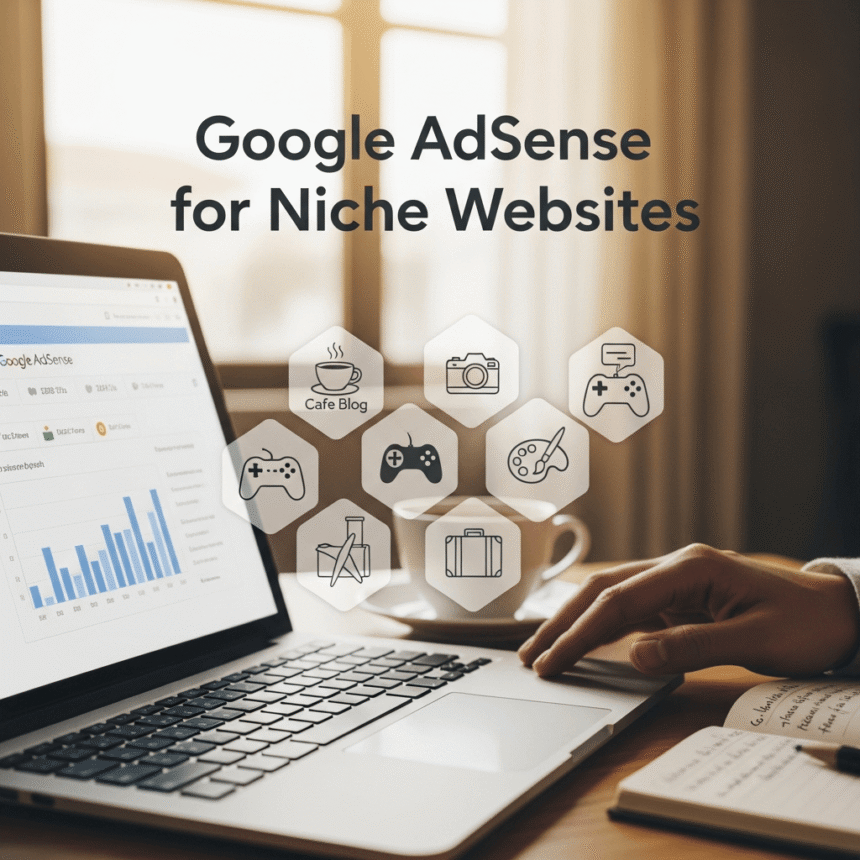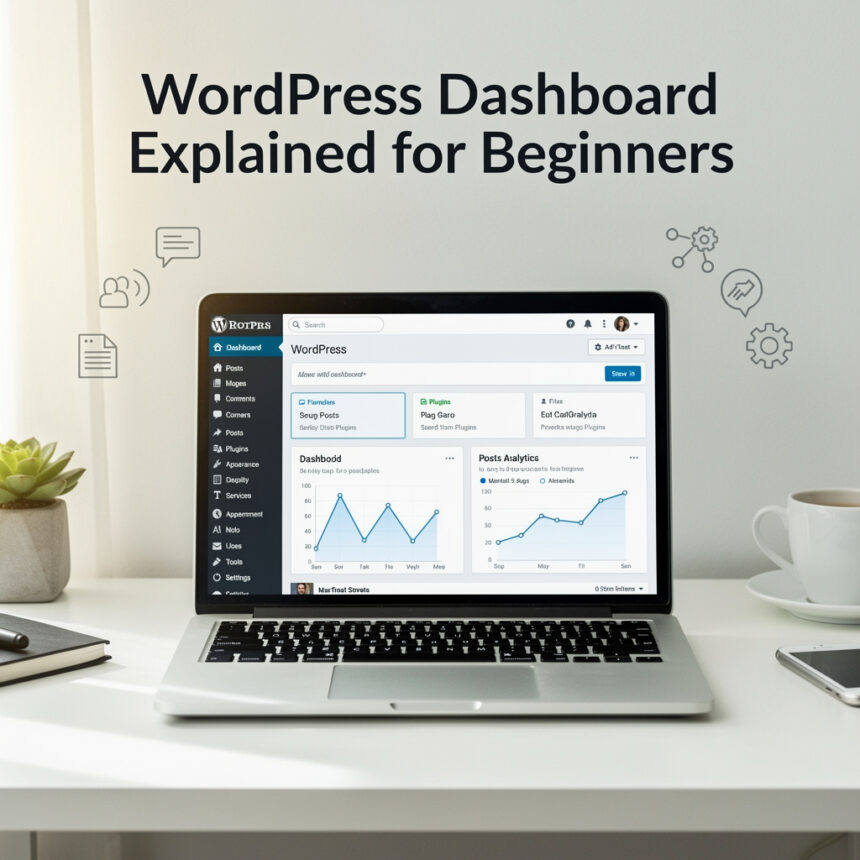
When you first log into your website, the screen can look a bit crowded. It is full of buttons, menus, and boxes that might seem confusing. This area is called the WordPress Dashboard.
Think of the dashboard as the cockpit of an airplane. It is the private area where you control everything your visitors see. From here, you can write stories, upload photos, and change how your site looks.
This guide will break down the dashboard into small, easy parts so you can start building with confidence.
How to Get to Your Dashboard
To see your dashboard, you usually need to add a small bit of text to the end of your website address.
- Open your web browser.
- Type your website URL followed by /wp-admin (for example:
www.yourwebsite.com/wp-admin). - Enter your username and password.
Once you are in, you will see the main home screen.
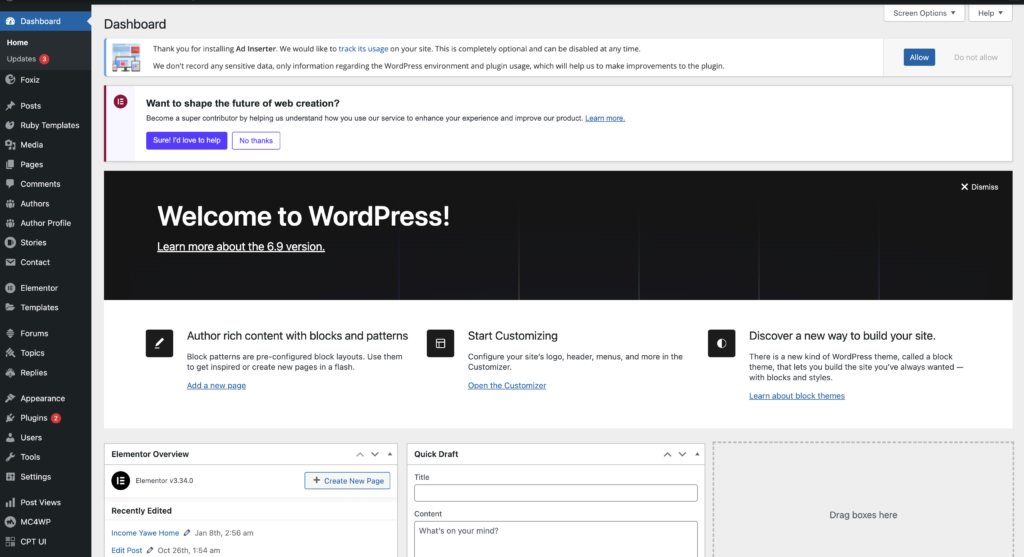
The Three Main Areas
The dashboard is generally split into three simple parts:
- The Top Toolbar: This is the thin dark bar at the very top. It has quick links to visit your site or add a new post.
- The Left Sidebar Menu: This is your main navigation. Every tool you need is listed here.
- The Main Work Area: This is the large space in the middle. It shows you the details of whatever menu item you click on.
Understanding the Sidebar Menu
The left sidebar is where you will spend most of your time. Let’s look at the most important sections:
1. Posts
This is where you go to write blog articles. You can see all your old stories, write new ones, and organize them into Categories or Tags.
2. Media
The Media Library holds every image, video, or audio file you upload. You can click here to manage your pictures or add new ones before putting them into a post.
3. Pages
Pages are for content that does not change often. This is where you create your “About Me” page, a “Contact” page, or your homepage. Unlike posts, pages are not organized by date.
4. Comments
When people leave a reply on your blog, they show up here. You can approve them, reply to them, or delete “spam” comments that don’t belong on your site.
5. Appearance
This is the “beauty salon” of your website.
- Themes: Change the entire design of your site with one click.
- Menus: Decide which links appear at the top of your website.
- Customize: Tweak colors, fonts, and your site title.
6. Plugins
Plugins are like apps for your website. They add new features that WordPress doesn’t have by default. For example, you can add a plugin to create a contact form or a plugin to make your site faster.
7. Settings
This is where you handle the “behind the scenes” stuff. You can change your site’s name, set your time zone, or decide if you want people to be able to comment on your posts.
Helpful Shortcuts for Beginners
There are two hidden gems on the dashboard that make life easier:
- Screen Options: At the very top right of almost every page, you will see a tab called “Screen Options.” If a page feels too cluttered, click this to hide boxes you don’t need.
- The “At a Glance” Box: On your main home screen, this box tells you exactly how many posts and pages you have published. It is a great way to see your progress.
The WordPress dashboard
The WordPress dashboard is built to help you, not to confuse you. While it looks like a lot at first, you only need to use a few sections to get started. Focus on Posts and Appearance first, and the rest will start to make sense as you go.
The best way to learn is to click around. You cannot “break” your site just by looking at the dashboard, so feel free to explore.