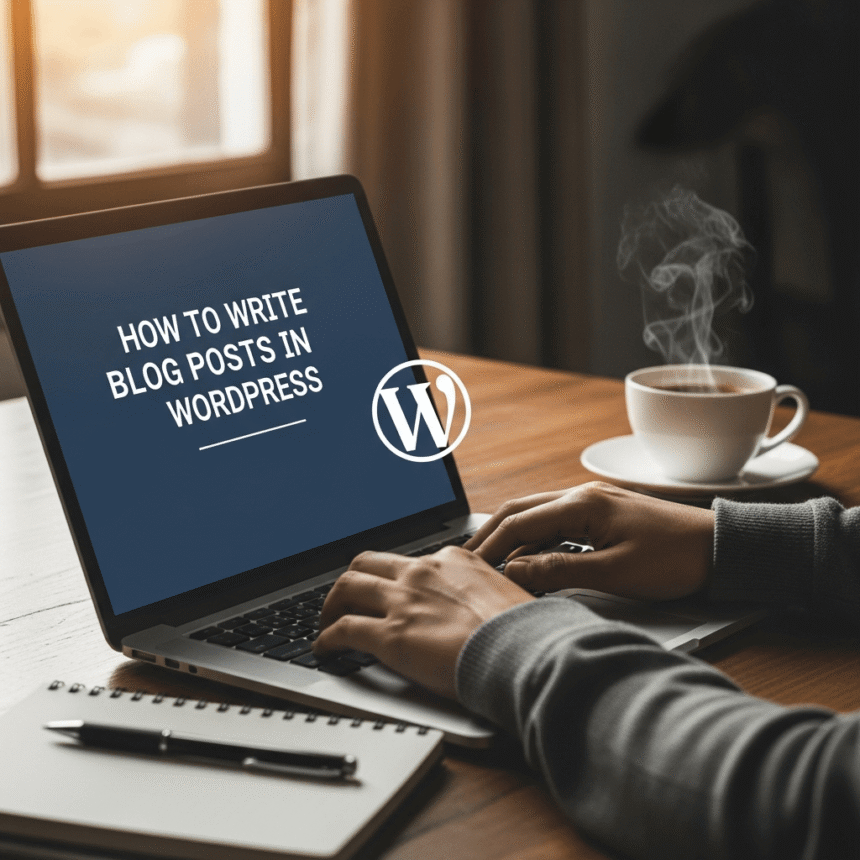
WordPress is the most popular platform for building websites because it makes the process of publishing content very straightforward. Whether you are starting a personal hobby blog or a professional business site, knowing how to navigate the WordPress editor is the first step toward success.
Here is a step by step guide to help you create and publish your first post.
1. Accessing the Post Editor
To get started, you need to log in to your WordPress dashboard. On the left side of the screen, you will see a menu. Hover your mouse over Posts and click on Add New Post. This will open the block editor, which is often called Gutenberg.
2. Adding a Title and Content
The first thing you should do is enter your title in the field that says Add title. This title is important because it tells both readers and search engines what your article is about.
After the title, you can start typing your content in the area below. WordPress uses a system of Blocks. Every paragraph, image, or heading is its own block. To add a new element, you can click the + icon on the screen and choose what you want to insert, such as:
- Paragraph: For your standard text.
- Heading: To break your post into sections.
- Image: To add visuals to your story.
- List: For bullet points or numbered items.
3. Organizing with Categories and Tags
On the right side of the editor, you will see a settings panel. Under the Post tab, look for Categories and Tags.
Categories are like chapters in a book. They help you group your posts into broad topics. Tags are more specific keywords that describe the details of that particular post. Using these correctly makes it much easier for visitors to find related content on your site.
4. Setting a Featured Image
A featured image is the main photo that represents your blog post. It usually appears at the top of the article and is often the image that shows up when you share your link on social media.
To add one, find the Featured Image section in the right sidebar, click on it, and upload a high quality photo from your computer.
5. Previewing and Publishing
Before you go live, it is a good idea to see how your post looks to the public. Click the Preview button at the top of the page. This allows you to check for any formatting errors or typos.
Once you are happy with how everything looks, hit the Publish button. Your post is now live and available for the world to see.
Summary Tips for Success
- Keep your sentences short and easy to read.
- Use headings to help readers scan the page quickly.
- Always check your spelling before clicking publish.
Writing in WordPress becomes very fast once you get used to the block system. The more you practice, the more professional your website will look.
Would you like me to help you brainstorm a list of five specific topics related to your niche to write about next?