Backing up your website is like having an insurance policy. You hope you never have to use it, but when something goes wrong, you are incredibly glad it is there. Whether your site was hacked, an update broke your layout, or you accidentally deleted an important page, knowing how to restore your backup is a vital skill for every website owner.
This guide will walk you through the most common ways to get your site back online quickly and safely.
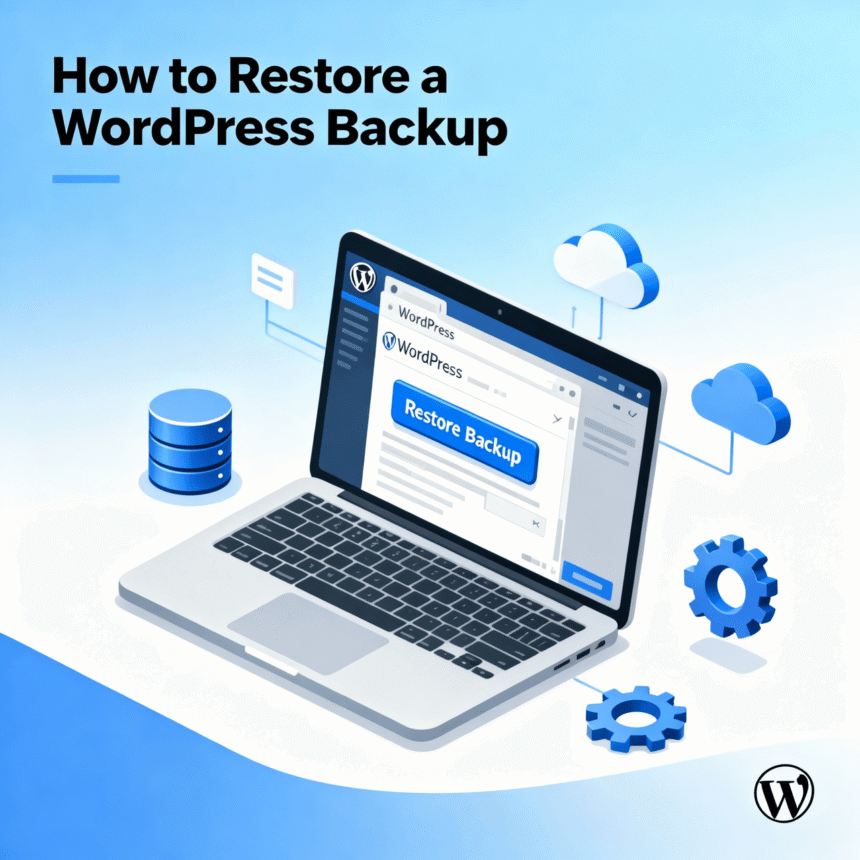
1. Using a Backup Plugin
Most WordPress users use a plugin to handle their backups. This is the easiest method because the plugin does the heavy lifting for you.
- Find your backup list: Log in to your WordPress dashboard and go to the settings page of your specific plugin (such as UpdraftPlus, Duplicator, or BackWPup).
- Select the date: Look for a list of existing backups and choose the one created just before your site had issues.
- Click Restore: Most plugins have a big “Restore” button. Once you click it, the plugin will ask what you want to restore (database, themes, plugins, or uploads). Usually, you should select all of them.
- Follow the prompts: The plugin will run a script to replace your current broken files with the healthy ones from the backup.
2. Using Your Web Hosting Control Panel
If you cannot access your WordPress dashboard at all, you can often restore your site through your hosting provider. Most hosts offer a tool like “JetBackup” or “cPanel Backups.”
- Log in to your hosting account: Navigate to your control panel (cPanel, hPanel, or a custom dashboard).
- Locate the Backup Section: Look for an icon labeled “Backups” or “Restore Manager.”
- Choose the Restore Type: You will usually have the option to restore “Files” or the “Database.” For a full recovery, you may need to do both.
- Confirm and Run: Select the date you want to revert to and click “Restore.” The server will handle the rest in the background.
3. Restoring Manually via FTP and phpMyAdmin
This method is for more advanced users or for when the automated tools fail. It involves two main parts: the files and the database.
Restoring Files:
- Connect to your server using an FTP client like FileZilla.
- Delete the current WordPress files (except for the
wp-config.phpfile if it is still working). - Upload the files from your backup folder to the server.
Restoring the Database:
- Log in to phpMyAdmin through your hosting account.
- Select your website’s database and “Drop” (delete) all the existing tables.
- Click the Import tab.
- Choose your backup SQL file and click Go.
Important Tips for a Smooth Restoration
Before you start any restoration process, keep these three things in mind:
- Check the Database: Sometimes a site “breaks” only because the database and the files are out of sync. Ensure you are restoring the database and files from the same date.
- Clear Your Cache: After the restoration is finished, your site might still look broken because your browser is remembering the old version. Clear your browser cache and any site caching plugins.
- Scan for Malware: If you are restoring because of a hack, make sure your backup file is clean. Otherwise, you might just be restoring the virus along with your content.
Conclusion
Restoring a WordPress backup does not have to be a scary process. If you have a recent backup file, you are already ahead of the curve. Start with the easiest method (a plugin) and only move to manual methods if necessary.