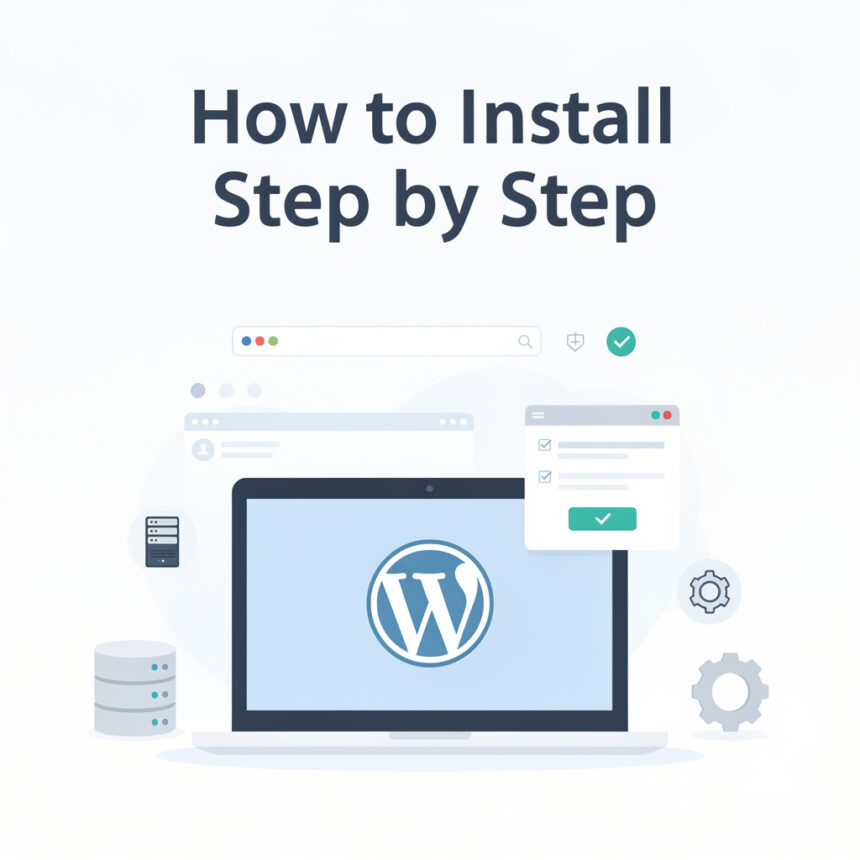
WordPress is the most popular way to build a website today. It powers everything from small personal blogs to massive news sites. The best part is that you do not need to be a tech expert to get started.
If you are ready to launch your online presence, follow this simple guide to get WordPress up and running.
Phase 1: Get Your Domain and Hosting
Before you can install WordPress, you need two things:
- A Domain Name: This is your website address, like www.yourname.com.
- Web Hosting: This is where your website files live on the internet.
Many companies offer both services together. When you sign up for hosting, look for a provider that offers a “One-Click Install” for WordPress. This makes the process much faster.
Phase 2: Use the One-Click Installation
Most modern hosting companies use a control panel called cPanel or a custom dashboard. They usually have an “Auto-installer” tool.
- Step 1: Log into your hosting account.
- Step 2: Look for the WordPress icon or a section labeled Software or App Installer.
- Step 3: Click Install Now.
- Step 4: Choose the domain where you want WordPress installed.
- Step 5: Enter your site settings. This includes your Site Name and Site Description.
- Step 6: Create an Admin Username and a strong Password. You will need these to log in later.
- Step 7: Click the Install button and wait a minute for the process to finish.
Phase 3: The Manual Installation (The 5-Minute Install)
If your host does not have an auto-installer, you can do it manually. This is slightly more technical but very reliable.
1. Download WordPress
Go to the official WordPress website and download the latest version as a .zip file. Unzip this file on your computer.
2. Upload Files to Your Server
You will need an FTP (File Transfer Protocol) tool or the File Manager in your hosting dashboard. Upload all the files from the unzipped WordPress folder to your website’s root directory.
3. Create a Database
WordPress needs a place to store your blog posts and settings. In your hosting dashboard, find the MySQL Databases section. Create a new database and a new user, then give that user “All Privileges” to the database. Make sure to write down the database name, username, and password.
4. Run the Installation Script
Open your web browser and go to your domain name. You will see a WordPress setup screen.
- Select your language.
- Enter the database details you just created.
- Click Run the installation.
Phase 4: Final Configuration
Once the installation is complete, you can access your dashboard by going to [suspicious link removed].
Log in with the username and password you created during the setup. From here, you can pick a theme to change how your site looks and install plugins to add new features.
Important Success Tips
- Keep your login info safe: Never share your admin password.
- Update regularly: WordPress releases updates to keep your site secure. Always click the update button when you see a notification in your dashboard.
- Delete the “Hello World” post: WordPress starts with a sample post. Delete it and write your first original article to greet your visitors.
Starting a website is an exciting journey. By following these steps, you have built a solid foundation for your online project.