

Creating your first post in WordPress is an exciting step toward sharing your ideas with the world. Whether you are starting a personal blog or a business website, the process is straightforward once you know your way around the editor.
Here is a simple, step-by-step guide to help you create and publish your first post.
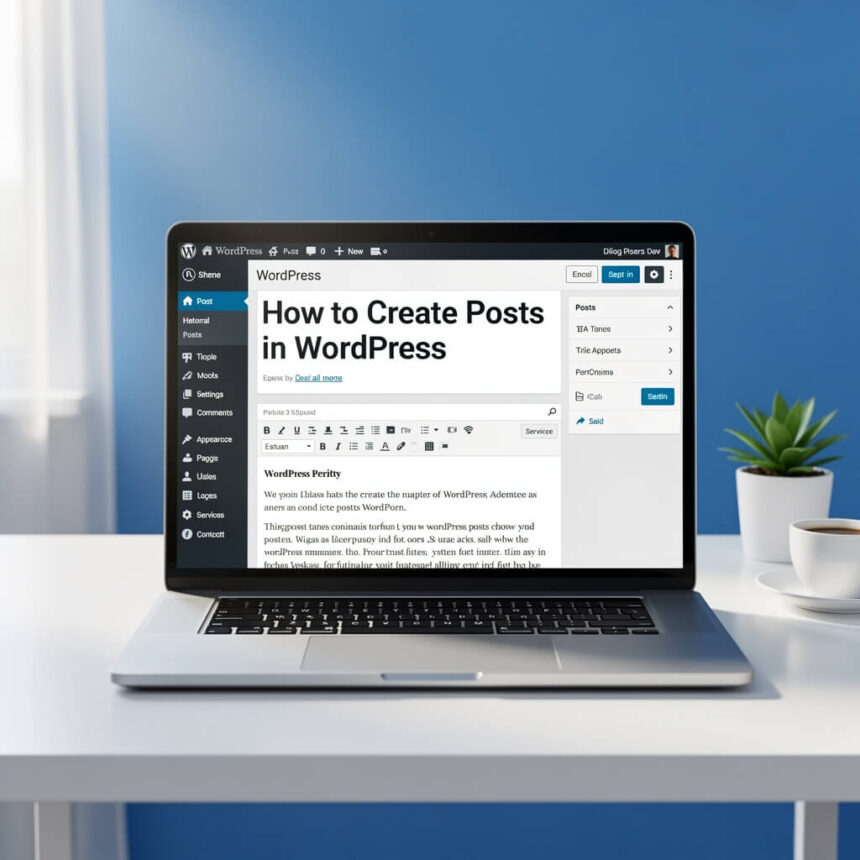
Step 1: Access the Post Editor
To get started, log in to your WordPress dashboard. Look at the menu on the left side of your screen. Hover over Posts and click on Add New Post. This will open the WordPress block editor, often called Gutenberg.
Step 2: Add Your Title
At the top of the editor, you will see a space that says Add title. This is where you type the name of your post. Make it catchy and clear so readers know exactly what your article is about.
Step 3: Write Your Content
Below the title, you can start typing your content. WordPress uses a system of blocks. Each paragraph, image, or heading is its own block.
- To start writing, just click and type.
- To add a new element, click the plus (+) icon at the top left or inside the editor.
- You can choose from different blocks like Heading, List, or Image.
Step 4: Add Media
A post with only text can be boring. You should add images or videos to make it more engaging.
- Click the + button.
- Select the Image block.
- Upload a file from your computer or choose one from your Media Library.
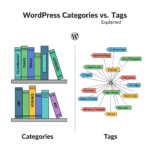
Step 5: Use Categories and Tags
On the right side of the screen, make sure the Post tab is selected. This is where you organize your content.
- Categories: These are broad groups for your posts. For example, if you blog about food, a category could be “Recipes.”
- Tags: These are specific keywords. For the same food blog, a tag could be “Chicken” or “Easy Dinner.”
Step 6: Set a Featured Image
The featured image is the main photo that represents your post. It usually appears at the top of the article and on your homepage. Find the Featured Image section on the right sidebar and click Set featured image to pick a photo.
Step 7: Preview and Publish
Before you go live, it is a good idea to see how everything looks. Click the Preview button at the top right. You can see how the post appears on a desktop, tablet, or mobile phone.
If you are happy with the result, click the blue Publish button. Your post is now live for the world to see!


✅