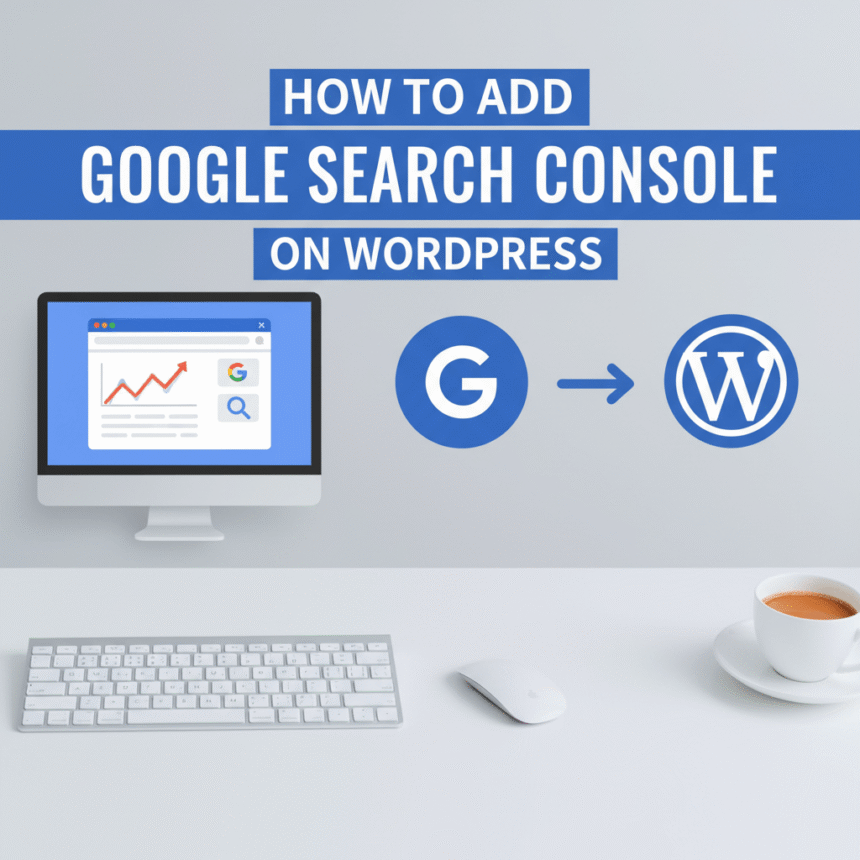
Getting more people to visit your website is every site owner’s dream. But to get more visitors, you first need to know how Google sees your pages. This is where Google Search Console comes in. It is a free tool that helps you track your search traffic, see which keywords people use to find you, and fix errors that might be hiding your site from search results.
If you use WordPress, connecting this tool is a simple process that does not require you to be a tech expert. Here is your step-by-step guide on How to Add Google Search Console on WordPress.
Step 1: Sign In to Google Search Console
Before you do anything on your WordPress site, you need to set up the “property” (your website) inside the Google tool.
- Go to the Google Search Console website.
- Click Start Now and sign in with your Google account.
- You will see two options: Domain or URL Prefix.
- Domain: This tracks everything related to your domain (like
example.com,shop.example.com, andhttps). It requires changing DNS settings with your domain provider. - URL Prefix: This is much easier for beginners. You just enter your exact website address (like
https://www.yourwebsite.com).
- Domain: This tracks everything related to your domain (like
Step 2: Choose Your Verification Method
Google needs to make sure you actually own the website before it shows you any private data. There are three popular ways to do this on WordPress.
Method A: Using an SEO Plugin (The Easiest Way)
Most WordPress users already have an SEO plugin like Yoast SEO, Rank Math, or All in One SEO. These plugins make verification very simple.
- In Google Search Console, select URL Prefix and enter your site URL.
- Under “Other verification methods,” click on HTML Tag.
- Copy the code that looks like this:
<meta name="google-site-verification" content="RANDOM_CODE_HERE" />. - Open your WordPress Dashboard in a new tab.
- If using Yoast SEO: Go to SEO > General > Webmaster Tools. Paste the code into the Google verification code box and click Save.
- If using Rank Math: Go to Rank Math > General Settings > Webmaster Tools. Paste the code and click Save.
Method B: Using the Site Kit Plugin (The Official Way)
Google has its own official WordPress plugin called Site Kit. It is a great choice if you want to see your data right inside your WordPress dashboard.
- Install and activate the Site Kit by Google plugin from the WordPress plugin store.
- Click Start Setup on the plugin dashboard.
- Sign in with your Google account and click Allow for the permissions.
- Site Kit will automatically verify your site and connect it to Search Console without you needing to copy any code.
Method C: The Manual Method (No Plugin)
If you prefer not to use a plugin, you can upload an HTML file directly to your website’s “root” folder using a File Manager or FTP.
- Choose the HTML file method in Search Console.
- Download the file Google provides.
- Log into your hosting account (like Bluehost, SiteGround, or HostGator) and open the File Manager.
- Upload the file to the
public_htmlfolder. - Go back to Search Console and click Verify.
Step 3: Tell Google About Your Sitemap
Once your site is verified, you should help Google find your content faster by submitting a sitemap. A sitemap is a list of all the pages on your site.
- Most SEO plugins create a sitemap for you automatically (usually at
yourwebsite.com/sitemap_index.xml). - In Google Search Console, click on Sitemaps in the left menu.
- Paste the last part of your sitemap URL (like
sitemap_index.xml) into the box. - Click Submit.
Why You Should Do This Today
Adding your site to Search Console is one of the best things you can do for your website’s growth. It tells you:
- Which pages are indexed and showing up in search.
- If your site has any broken links (404 errors).
- If your site is easy to use on mobile phones.
- What keywords people are typing to find your blog posts.
By following these steps, you are giving your WordPress site the best chance to rank higher and reach more people.