When you first start monetizing your website, one of the biggest decisions you will face is how to actually place your ads. You have two main paths: letting a smart system handle it for you or taking the wheel yourself. This choice can impact how your site looks, how fast it loads, and how much you earn.
In this guide, we will break down the differences between Auto and Manual setups to help you decide which one fits your goals.
What is Auto Ad Setup?
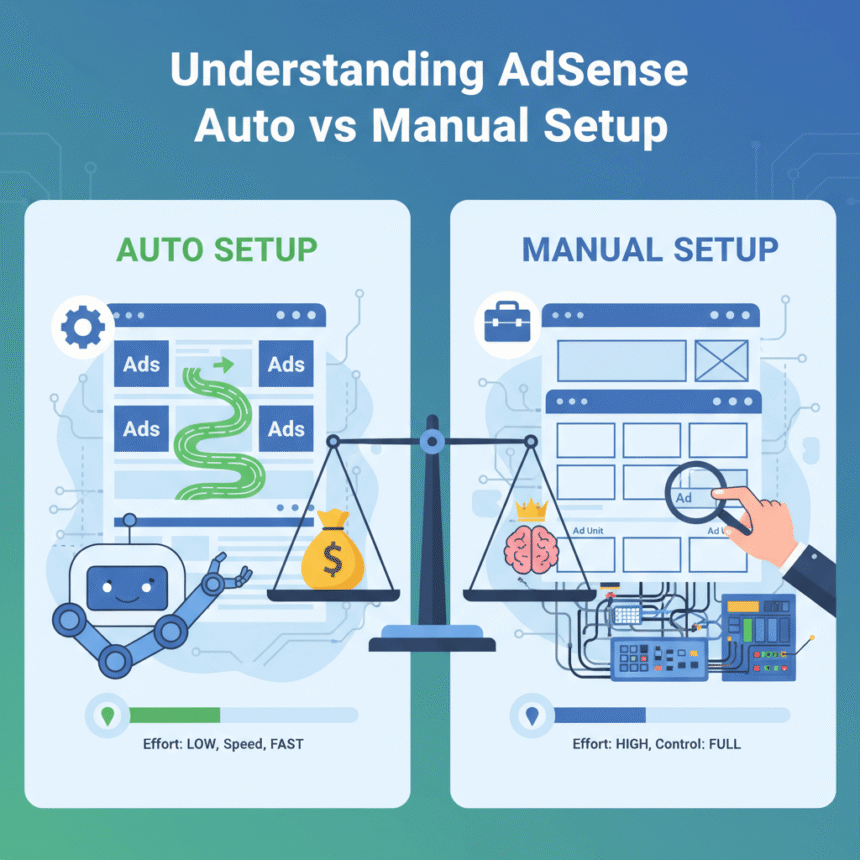
The Auto setup is essentially a “set it and forget it” solution. You place one piece of code into the header of your website, and the system uses machine learning to scan your pages. It looks at your layout, the length of your articles, and where your images are placed to find the best spots for ads.
The Pros of Auto Setup:
Speedy Launch: You only need to copy and paste one snippet of code once. You don’t have to create individual ad units for every page.
Smart Optimization: The system automatically tests different spots on your site. If one location isn’t performing well, it moves the ad to a better spot without you lifting a finger.
Mobile Ready: It is very good at adjusting ads for mobile screens, ensuring they fit perfectly on smartphones and tablets.
Ad Density: It can often find more “hidden” spots for ads than a human might notice, which can lead to higher visibility.
The Cons of Auto Setup:
Less Control: Sometimes the system might place an ad in a weird spot, like right in the middle of a list or between a headline and its paragraph.
Layout Shifting: Because the system decides where ads go in real-time, it can sometimes cause your content to “jump” while the page is loading.
What is Manual Ad Setup?
Manual setup gives you total authority. You create specific “ad units” in your dashboard (like a 728×90 banner or a 300×250 square) and then paste that specific code exactly where you want it to appear in your website’s HTML or through a plugin.
The Pros of Manual Setup:
Precise Placement: You decide exactly where the ads go. If you want an ad only at the very bottom of your posts to keep your reading experience clean, you can do that.
Better User Experience: Since you are in control, you can ensure that ads never overlap with your menu or break your site’s design.
Predictable Loading: Because the ad spots are fixed, your website layout remains stable as it loads.
A/B Testing: You can manually test if a sidebar ad performs better than a banner under the title.
The Cons of Manual Setup:
Time Intensive: You have to create each unit and place it yourself. If you have hundreds of pages, this can be a lot of work unless you use a global plugin.
Potential for Human Error: If you don’t place the code correctly, it might break your site’s alignment or leave empty gaps.
Missed Opportunities: You might miss out on profitable spots that the automated system would have caught.
Which One Should You Choose?
The right choice usually depends on your experience level and how much time you want to spend on technical tasks.
Choose Auto Setup if:
You are a beginner and want to start earning quickly.
You have a very large site with thousands of pages and cannot manually manage each one.
You prefer to focus entirely on writing content rather than managing technical settings.
Choose Manual Setup if:
You are a “design perfectionist” and want your site to look a specific way.
You have a small, high-quality blog where user experience is your top priority.
You are comfortable working with code or using WordPress plugins to manage ad placements.
Can You Use Both?
Yes! This is often called a “hybrid” approach. Many successful site owners place a few manual ads in their most profitable spots (like right under the article title) and then turn on the automated system to fill in the gaps. The system is usually smart enough to see your manual ads and avoid placing its own ads too close to them.
By understanding these two setups, you can find the perfect balance between keeping your readers happy and making your website a success.