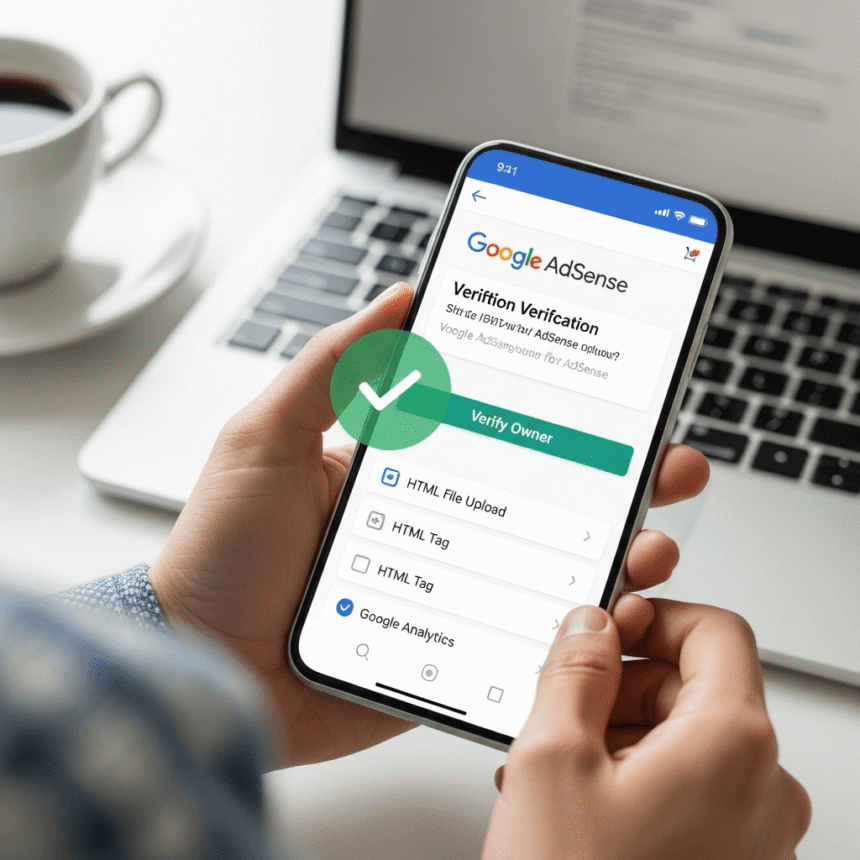
Setting up a new website is exciting, but before you can start showing ads, you need to prove that you actually own the site. This process is called site ownership verification. It is a simple security step that tells the system you have the authority to manage the website.
If you are looking to get your site ready, follow this guide to understand the different ways you can verify your ownership quickly and easily.
Why Verification is Important
Verification ensures that only the true owner of a website can control the ads shown on it. It protects your site from unauthorized users and is a required step to get your account fully activated. Once you complete this, your site can move into the review phase.
Method 1: Using the Ad Code Snippet
This is the most common method. When you add your site to your account, you will be given a small piece of code.
Copy the code: Log in to your account, go to the Sites tab, and find the code snippet provided for your new site.
Paste into HTML: Open your website’s HTML. Paste the code between the <head> and </head> tags.
Place on every page: For the best results, ensure this code is on every page you want to show ads.
Confirm: Go back to your dashboard and click Verify.
Method 2: The Meta Tag Method
If you don’t want to place the full ad code on your homepage yet, you can use a Meta Tag. This is just a single line of HTML that confirms your identity.
Select Meta Tag: In the verification options, choose the HTML meta tag method.
Copy the tag: It will look something like <meta name="google-adsense-account" content="ca-pub-0000000000000000">.
Add to Header: Paste this tag into the <head> section of your homepage.
Save and Verify: Save your changes and click the verify button in your account.
Method 3: The ads.txt Method
The ads.txt file is used to declare who is authorized to sell ads on your site. It is also a great way to verify ownership.
Create the file: Create a simple text file named ads.txt.
Add your info: Paste the line of text provided by the platform into this file. It usually contains your unique publisher ID.
Upload to Root: Use an FTP tool or your hosting file manager to upload this file to the root directory of your site (e.g., example.com/ads.txt).
Check: Once the file is live, click Verify in your dashboard.
Tips for Success
Don’t remove the code: Keep the verification code or file on your site even after you are verified. If you remove it, you might lose your verified status.
Clear your cache: If the system cannot find the code, try clearing your website’s cache or your CDN (like Cloudflare) so the latest version of your page is visible.
Wait a moment: Sometimes it takes a few minutes for the system to “see” the changes you made. If it fails the first time, wait five minutes and try again.
By following these steps, you will be one step closer to getting your site approved and ready for visitors.