In the early days of the internet, building a website required knowing how to code. If you didn’t know HTML or CSS, you had to hire a professional. Today, WordPress has changed the game. With the help of page builders, anyone can create a stunning, professional website without writing a single line of code.
If you are new to WordPress, you might be wondering what a page builder is and how you can use one to improve your site. This guide will walk you through everything you need to know.
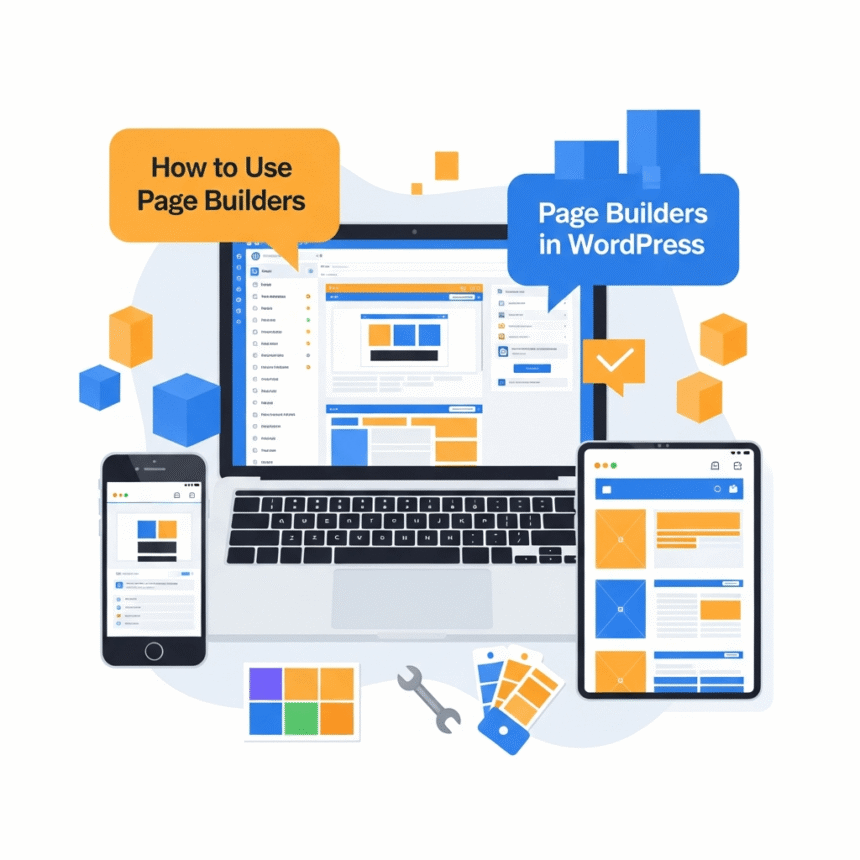
What is a WordPress Page Builder?
A page builder is a plugin that allows you to design your website using a “drag and drop” interface. Instead of looking at a screen full of code, you look at the actual page as it will appear to your visitors.
You can pick up an element, like a button or an image, and drop it exactly where you want it to go. This makes the design process much faster and more intuitive for beginners.
Choosing the Right Page Builder
Before you start building, you need to choose a tool. There are many options available, but the most popular ones include:
- Elementor: Known for its speed and massive library of templates.
- Beaver Builder: Very stable and popular among developers who want clean code.
- Divi: A powerful builder that comes with its own theme.
- Spectra or Gutenberg Blocks: These enhance the standard WordPress editor.
Most of these offer a free version, so you can test them out before committing to a paid plan.
Step-by-Step: How to Use a Page Builder
Once you have chosen and installed your plugin, follow these steps to start designing.
1. Create a New Page
Go to your WordPress dashboard, click on Pages, and then select Add New. Give your page a title. You will usually see a large button that says something like “Edit with Elementor” or “Launch Page Builder.” Click that button to enter the design mode.
2. Understand the Layout Structure
Most page builders use a specific hierarchy to keep things organized:
- Sections: These are the largest containers. You might have one section for your header, one for your services, and one for your contact info.
- Columns: Inside sections, you can split the space into columns (for example, a two-column layout with text on the left and an image on the right).
- Widgets/Modules: These are the actual pieces of content, such as headings, videos, buttons, or maps.
3. Drag and Drop Elements
Find the sidebar menu where all the widgets are listed. If you want to add a heading, simply click on the “Heading” widget and drag it into a column. Once it is there, you can click on it to change the text, color, size, and font.
4. Use Pre-made Templates
If you are not a designer, starting with a blank white page can be intimidating. Most page builders offer Templates. You can import a professionally designed layout for a “Home” page or an “About” page and then simply swap out the text and images with your own.
5. Mobile Responsiveness
A huge part of web design today is making sure your site looks good on phones. Most page builders have a “Responsive Mode” icon. When you click it, you can see how your design looks on a mobile screen. You can adjust font sizes or margins specifically for mobile users without changing the desktop version.
Tips for Success
To keep your site running smoothly while using a page builder, keep these tips in mind:
- Don’t overdo it: Adding too many heavy animations or giant images can slow down your website.
- Stay consistent: Use the same fonts and colors throughout your site to keep it looking professional.
- Save often: While many builders have an auto-save feature, it is always a good idea to hit the “Update” or “Publish” button manually as you work.
Conclusion
Page builders have made web design accessible to everyone. By using a drag and drop interface, you can take full control of how your WordPress site looks and feels. Whether you are building a personal blog or a business site, these tools provide the flexibility you need to succeed.