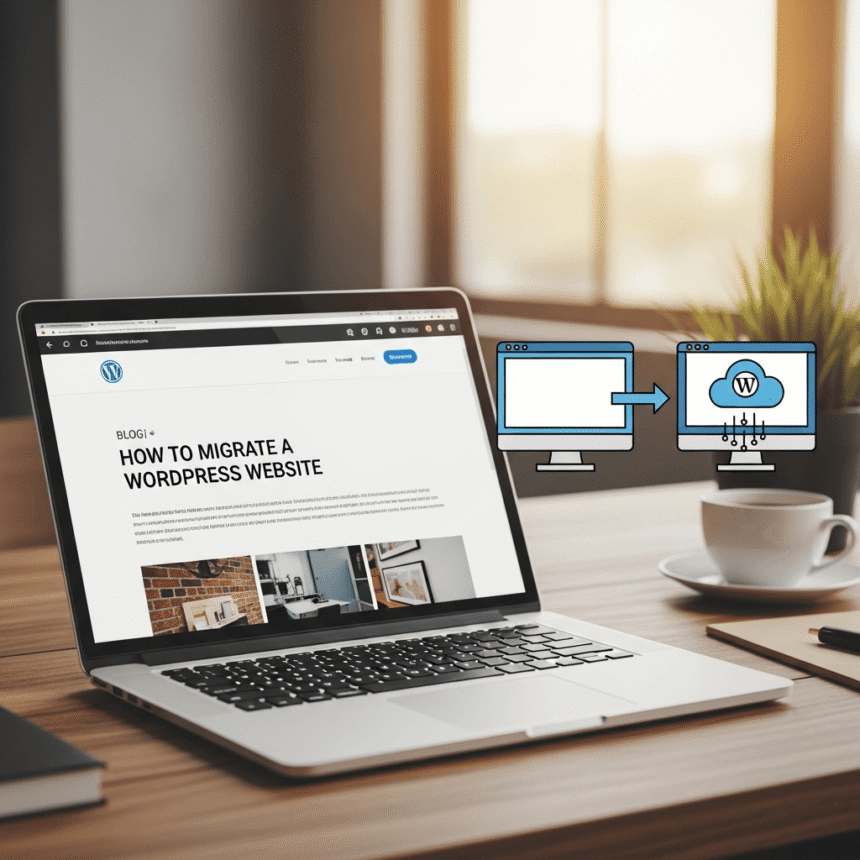
Migrating a WordPress website might seem like a scary task, but it is actually a straightforward process if you follow the right steps. Whether you are moving to a faster hosting provider or changing your domain name, the goal is to move your files and database without losing any data or experiencing long periods of downtime.
Here is a step-by-step guide to help you migrate your WordPress site manually.
1. Prepare for the Move
Before you start moving files, you need to make sure you have access to both your old hosting account and your new one. You will also need an FTP client like FileZilla or access to the File Manager in your hosting control panel.
The most important step is to create a full backup. If anything goes wrong during the migration, having a backup ensures you can restore your site to its original state.
2. Export the WordPress Database
Your database contains all your posts, comments, and settings. To move it, you need to export it from your old host.
- Log in to your old hosting account and open phpMyAdmin.
- Select your WordPress database from the list on the left.
- Click on the Export tab at the top.
- Choose the Quick export method and click Go. This will download a file ending in .sql to your computer.
3. Download Your Website Files
While the database holds your text and settings, your files include your themes, plugins, and images.
- Connect to your old server using FTP or File Manager.
- Go to the folder where WordPress is installed (usually public_html).
- Download all the files and folders to a folder on your computer. This might take some time depending on how many images and plugins you have.
4. Create a New Database on the New Host
Now that you have your data, you need a place to put it on your new server.
- Log in to your new hosting account.
- Look for a section called MySQL Databases.
- Create a new database and give it a name.
- Create a new database user and a strong password.
- Add the user to the database and make sure you grant them All Privileges.
5. Upload Your Files to the New Host
Now it is time to move your files to the new location.
- Connect to your new server using FTP.
- Navigate to the folder where you want the site to live.
- Upload all the files you previously downloaded from your old host.
6. Import Your Database
With the files in place, you now need to bring in your content.
- Open phpMyAdmin on your new hosting account.
- Select the new, empty database you created in step 4.
- Click the Import tab.
- Choose the .sql file you downloaded earlier and click Go.
7. Update the wp-config.php File
The wp-config.php file tells WordPress how to connect to your database. Since you have a new database name, username, and password, you must update this file on your new server.
Find the following lines in the file and enter your new details:
define('DB_NAME', 'your_new_database_name');define('DB_USER', 'your_new_username');define('DB_PASSWORD', 'your_new_password');define('DB_HOST', 'localhost');(This is usually localhost, but check with your host).
8. Update Your Domain Name (If Applicable)
If you are moving to a brand new domain name, you will need to update the links inside your database. You can do this by using a plugin like Better Search Replace once you can log in, or by editing the siteurl and home values in the wp_options table within phpMyAdmin.
9. Point Your Domain to the New Host
The final step is to tell the internet where your site is now located. You do this by updating your Domain Name System (DNS) settings. Log in to your domain registrar and change the Nameservers to the ones provided by your new hosting company.
It can take anywhere from a few hours to 48 hours for these changes to spread across the internet. Once this is finished, your migration is complete.