If you run a website or a blog, you probably know the feeling of having too much content. When you first start, it is easy to keep track of everything. But as you post more articles, your site can start to feel like a messy room.
Visitors who come to your site want to find information quickly. If they have to hunt through pages of random posts, they might get frustrated and leave. This is where categories come in. Think of categories as the digital filing cabinet for your website.
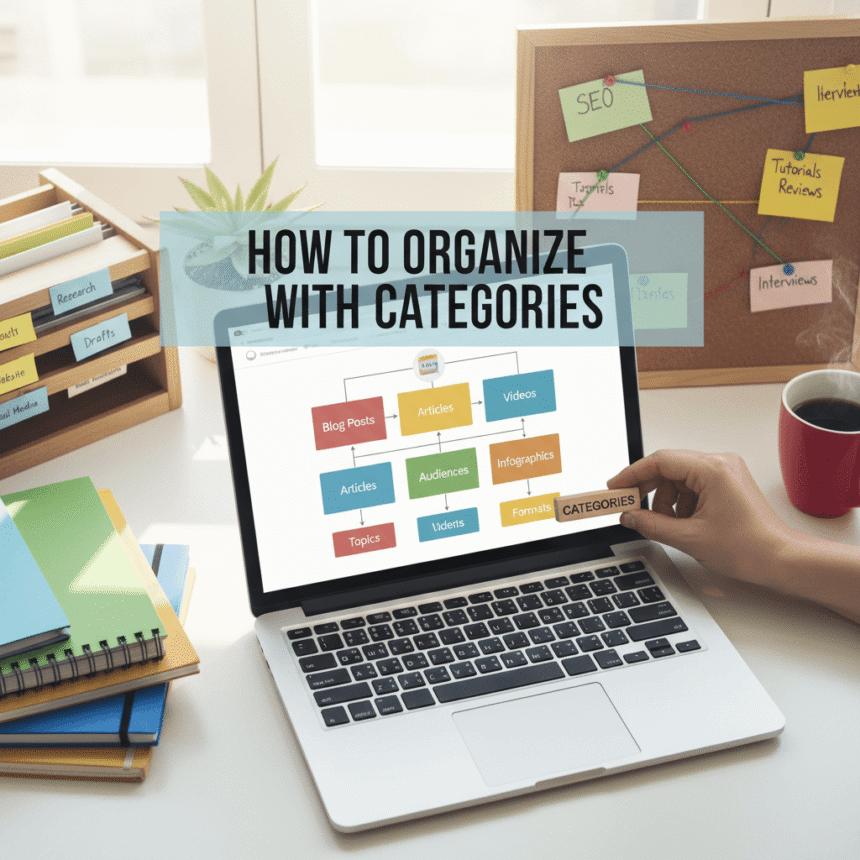
Here is how you can use categories to keep your content organized and your readers happy.
Why Categories Matter
Categories are not just for you; they are primarily for your readers. They provide a clear structure. When a visitor clicks on a category, they are telling you exactly what they are interested in.
Beyond helping readers, categories help search engines understand what your website is about. By grouping related topics together, you show that your site has depth in specific areas. This makes your site look more professional and authoritative.
Start with the Big Picture
When you begin organizing, do not try to create a category for every single post. Instead, think about the main topics you cover. Most websites only need between five and ten main categories.
If you have a cooking blog, your main categories might be:
- Breakfast
- Main Dishes
- Desserts
- Healthy Eating
- Quick Meals
If you find yourself creating a category that will only ever have one post in it, it is probably too specific. Save those specific details for “tags” instead.
Keep Names Simple and Clear
Your category names should be easy to understand. This is not the place to be overly creative or mysterious. Use words that your audience would naturally use when searching for information.
For example, if you write about technology, use a name like “Smartphone Reviews” instead of “Pocket Gadget Thoughts.” Simple names help people know exactly what they will find when they click the link.
Use a Logical Hierarchy
Sometimes, a main category is too broad. In this case, you can use subcategories. This creates a nested structure that keeps things even cleaner.
For a travel blog, it might look like this:
- Europe (Main Category)
- France (Subcategory)
- Italy (Subcategory)
- Spain (Subcategory)
This allows a reader to look at all your posts about Europe or narrow their search down to just one country. Just be careful not to go too deep. Having more than two levels of categories can make your site feel confusing again.
Review and Clean Up Regularly
As your website grows, your focus might change. A category that was important a year ago might not be relevant today.
Every few months, take a look at your category list. If you have two categories that are very similar, consider merging them into one. If a category has thirty posts and another only has one, see if you can reorganize them to be more balanced.
How to Assign Posts
Every post you write should belong to at least one category. While most website platforms allow you to put a post into multiple categories, try to limit it to just one or two.
If a post fits into five different categories, it might mean your categories are overlapping too much or your post is trying to cover too many different topics at once. Keeping a post in one primary category makes the navigation path clear for the user.
Final Thoughts
Organizing your content with categories makes your website feel like a library instead of a junk drawer. It helps your visitors find what they need, keeps them on your site longer, and makes your brand look much more organized.
Start by looking at your current posts and see if you can group them into five main “buckets.” Once you have that structure, adding new content becomes much easier.