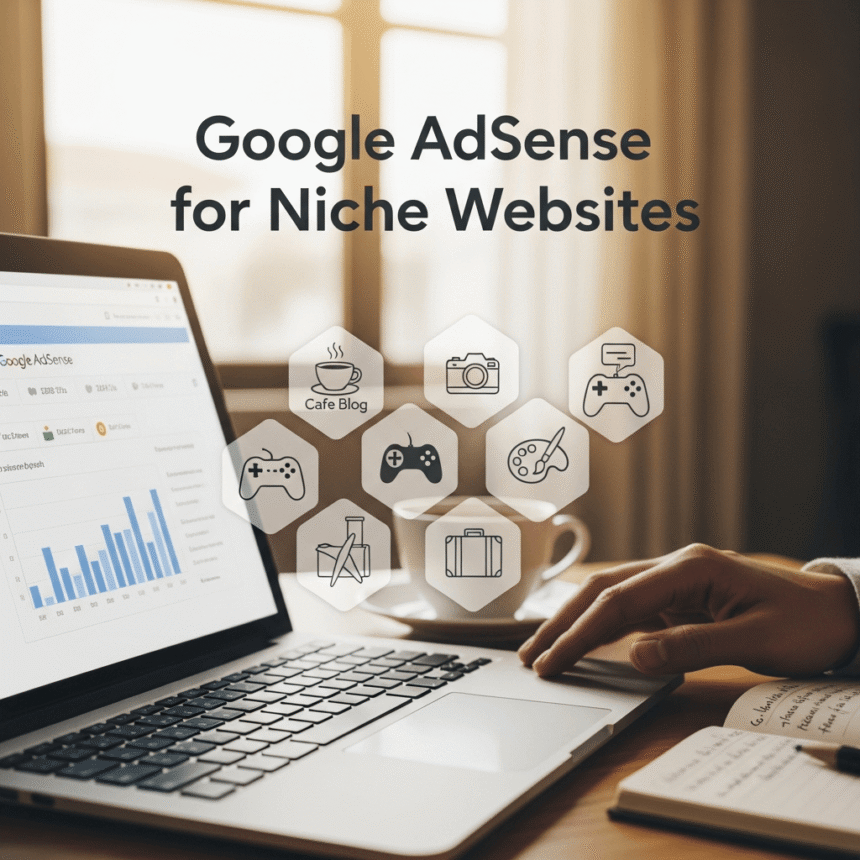
Adding visuals to your blog posts is one of the best ways to keep your readers engaged. A wall of text can be intimidating, but a well-placed photo or a helpful video can make your content much more exciting. If you want to learn how to make your posts look professional and keep people on your site longer, this guide is for you.
Why Visuals Matter
Before we get into the “how,” let’s talk about the “why.” Humans are visual creatures. We process images much faster than text. Using images and videos helps to:
- Break up long paragraphs: This makes your content easier to read on mobile phones.
- Explain complex ideas: A single screenshot can often explain a technical step better than three paragraphs of text.
- Improve SEO: Search engines look for diverse types of content. Adding alt text to images helps your site show up in image searches.
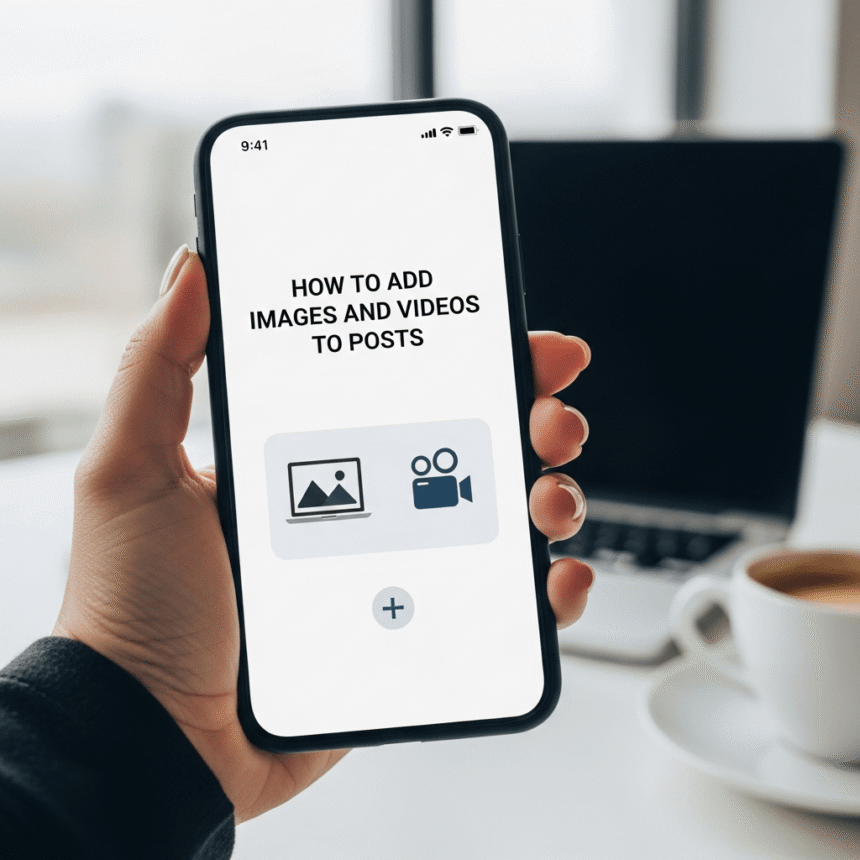
How to Add Images to Your Posts
Most modern blogging platforms like WordPress, Wix, or Ghost make it very easy to add photos. Here are the basic steps you should follow.
1. Prepare Your Image
Don’t just upload a massive file directly from your camera. High-resolution photos can slow down your website. Before uploading, try to resize the image to a reasonable width (like 1200 pixels) and use a tool to compress the file size without losing quality.
2. Upload to Your Editor
In your post editor, you will usually see a plus (+) icon or an “Add Media” button. Click this and select your file. Once it is uploaded, you can place it anywhere in the text.
3. Add Alt Text
This is a crucial step that many people skip. Alt text is a short description of the image. It helps visually impaired readers understand what is in the photo via screen readers. It also helps search engines categorize your content.
How to Add Videos to Your Posts
Videos are great for tutorials, interviews, or storytelling. There are two main ways to add them.
Method A: Embedding (The Best Way)
The best way to add a video is to upload it to a site like YouTube or Vimeo first and then “embed” it. This saves your website from having to load a heavy video file from its own server.
- Go to the video on YouTube.
- Click the Share button.
- Choose Embed and copy the code, or simply copy the video URL.
- Paste the link into your blog editor. Most platforms will automatically turn the link into a playable video player.
Method B: Direct Upload
You can upload a video file (like an .mp4) directly to your media library. However, be careful with this. Large video files can make your page load very slowly, which might frustrate your visitors.
Best Practices for a Great Layout
To make your post look its best, follow these simple tips:
- Use High Quality: Avoid blurry or pixelated images. Use free stock photo sites if you don’t have your own photos.
- Stay Relevant: Don’t just add a photo for the sake of it. Ensure the image or video actually relates to the topic you are writing about.
- Alignment: Center your images for a clean look, or wrap text around smaller images to save space.
- Captions: Adding a small caption under an image can provide extra context and keep the reader interested.
Summary
Adding images and videos is a simple skill that can have a huge impact on your blog’s success. By following the steps above, you can create posts that are not only informative but also beautiful and easy to consume. Start by adding one relevant image to your next post and see how much better it looks.