

Creating a clear and functional navigation menu is one of the most important steps in building a professional website. A well-organized menu helps your visitors find what they are looking for quickly, which keeps them on your site longer.
In this guide, we will walk you through the simple steps to create and customize your navigation menu in WordPress.
Understanding WordPress Menus
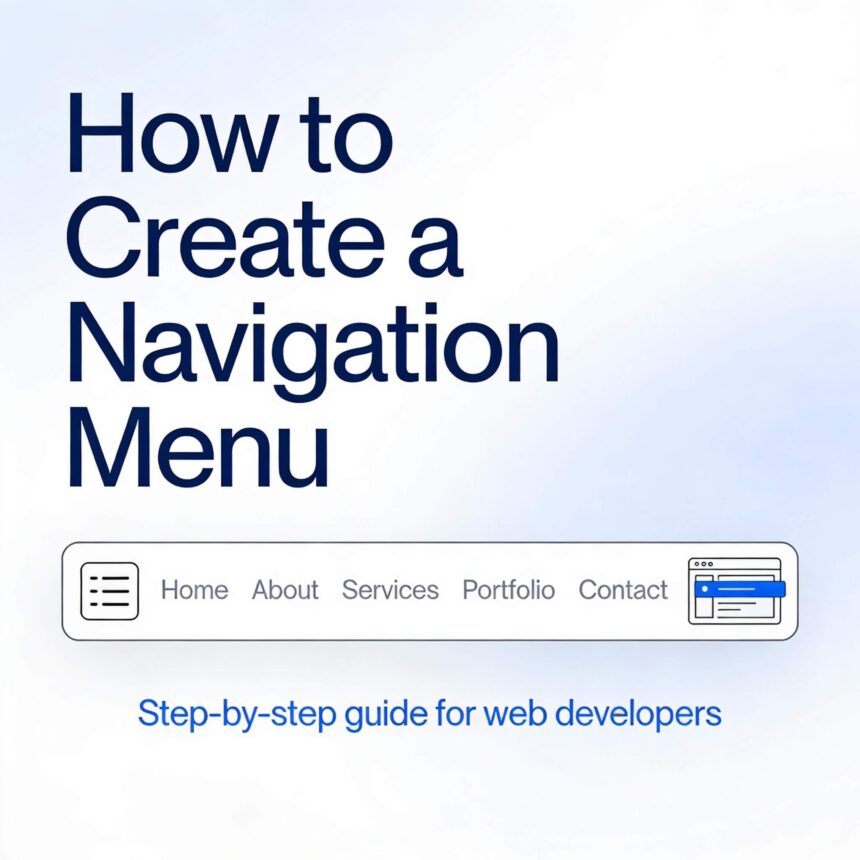
A navigation menu is a list of links usually found at the top of a website. Most WordPress themes allow you to place menus in several locations, such as the header, the footer, or even in sidebar widgets.
Before you start, make sure you have created a few pages like Home, About, or Contact. This gives you something to actually put inside your menu.
Step 1: Access the Menu Editor
To begin, log in to your WordPress dashboard. Look at the sidebar on the left side of your screen.
- Hover your mouse over the Appearance tab.
- Click on Menus from the list that appears.
If you are using a newer “Block Theme,” you might find these settings under Appearance and then Editor. However, for most users, the classic Menus screen is the standard way to manage links.
Step 2: Create a New Menu
If your site is brand new, you may need to create a menu from scratch.
- Locate the Menu Name box.
- Give your menu a name that is easy to remember, such as “Main Menu” or “Header Menu.”
- Click the Create Menu button on the right side.
Now that you have created the container for your links, you can start adding content to it.
Step 3: Add Items to Your Menu
On the left side of the Menus page, you will see a column labeled Add menu items. Here you can choose from different types of content:
- Pages: This shows a list of the pages you have already published.
- Posts: You can link directly to specific blog posts.
- Custom Links: Use this to link to an external website or a specific URL.
- Categories: This is great for grouping your blog posts by topic.
To add an item, check the box next to the page or category name and click Add to Menu. You will see these items appear in the area on the right.
Step 4: Organize and Arrange Your Links
WordPress makes it very easy to change the order of your menu items using a “drag and drop” system.
- Reorder: Click and hold a menu item, then drag it up or down to change its position.
- Create Dropdown Menus: If you want a “Parent” item with “Child” links underneath it, simply drag the child item slightly to the right. It will look indented under the main link. This is how you create those professional-looking sub-menus.
Step 5: Choose Your Menu Location
Once your links are organized, you need to tell WordPress where to show the menu. Scroll down to the Menu Settings section at the bottom of the page.
Every theme is different, but you will usually see options like:
- Primary
- Secondary
- Footer Menu
Check the box for Primary to make this your main navigation at the top of the site. Finally, click the Save Menu button.
Managing Menus in the Customizer
If you prefer to see your changes in real-time, you can use the WordPress Customizer.
- Go to Appearance and click Customize.
- Click on the Menus tab.
- You can add, remove, and reorder items while watching a live preview of your website on the right.
Helpful Tips for Better Navigation
- Keep it Simple: Don’t crowd your menu with too many links. Use 5 to 7 main items at most.
- Use Clear Labels: Use simple words like “Services” instead of vague terms like “What We Do.”
- Check Your Links: Periodically click through your menu to make sure every link works and leads to the right page.
By following these steps, you will have a clean and helpful navigation system that makes your website much more user-friendly.


✅